How to Take Photos People Actually Stop For
By Pop Reso
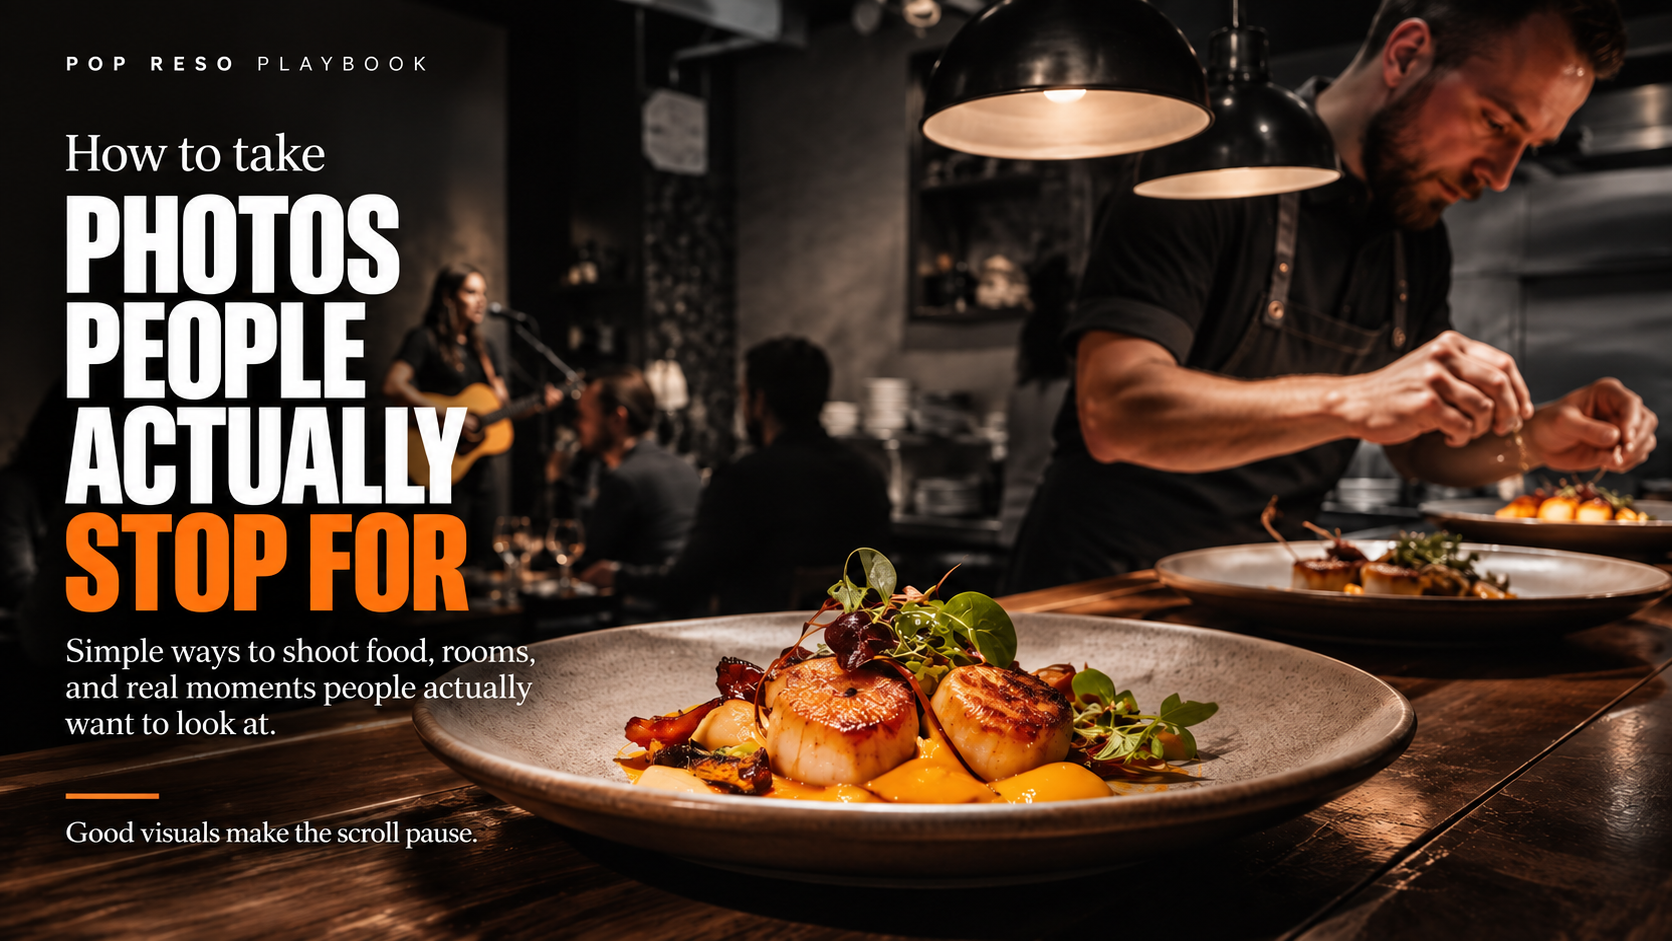
The best restaurant photos don’t always look like advertising. They look like something you want to be part of.
Restaurants are naturally visual places. A plate lands under the pass lights, a bartender finishes a cocktail, a chef is working through prep, musicians are setting up in the corner and the dining room begins to come alive as the first guests arrive. There is no shortage of things worth photographing. The challenge is capturing those moments in a way that makes somebody stop scrolling long enough to think, I want to be there.
The good news is that you probably don’t need more equipment. Modern iPhones and Android phones are capable of producing excellent restaurant photography when they’re used thoughtfully. What matters far more than the camera is where you stand, what you choose to photograph and whether the image feels like the restaurant people will actually experience when they walk through the door.
Start With the Moment, Not the Camera
Before taking the photo, ask what you’re actually trying to show. If tonight’s story is the chef feature, make the dish the clear focus. If it’s live music, show the performer in the context of the room rather than photographing an empty microphone stand. If the kitchen is prepping for a busy night, capture hands working, ingredients being finished or a chef at the pass instead of asking everyone to stop and pose.
The strongest restaurant content often feels observed rather than staged. A bartender pouring a drink, a server carrying plates through a busy room or a chef adding the final garnish has movement and purpose. Those images give people a glimpse into what is happening right now, which is much more compelling than another perfectly centred plate sitting alone on a table.
That doesn’t mean photographs should be messy. Pay attention to the background, remove obvious clutter and move anything distracting out of the frame. You simply don’t need to make the restaurant look like a photo studio.
Food Should Look Like Food
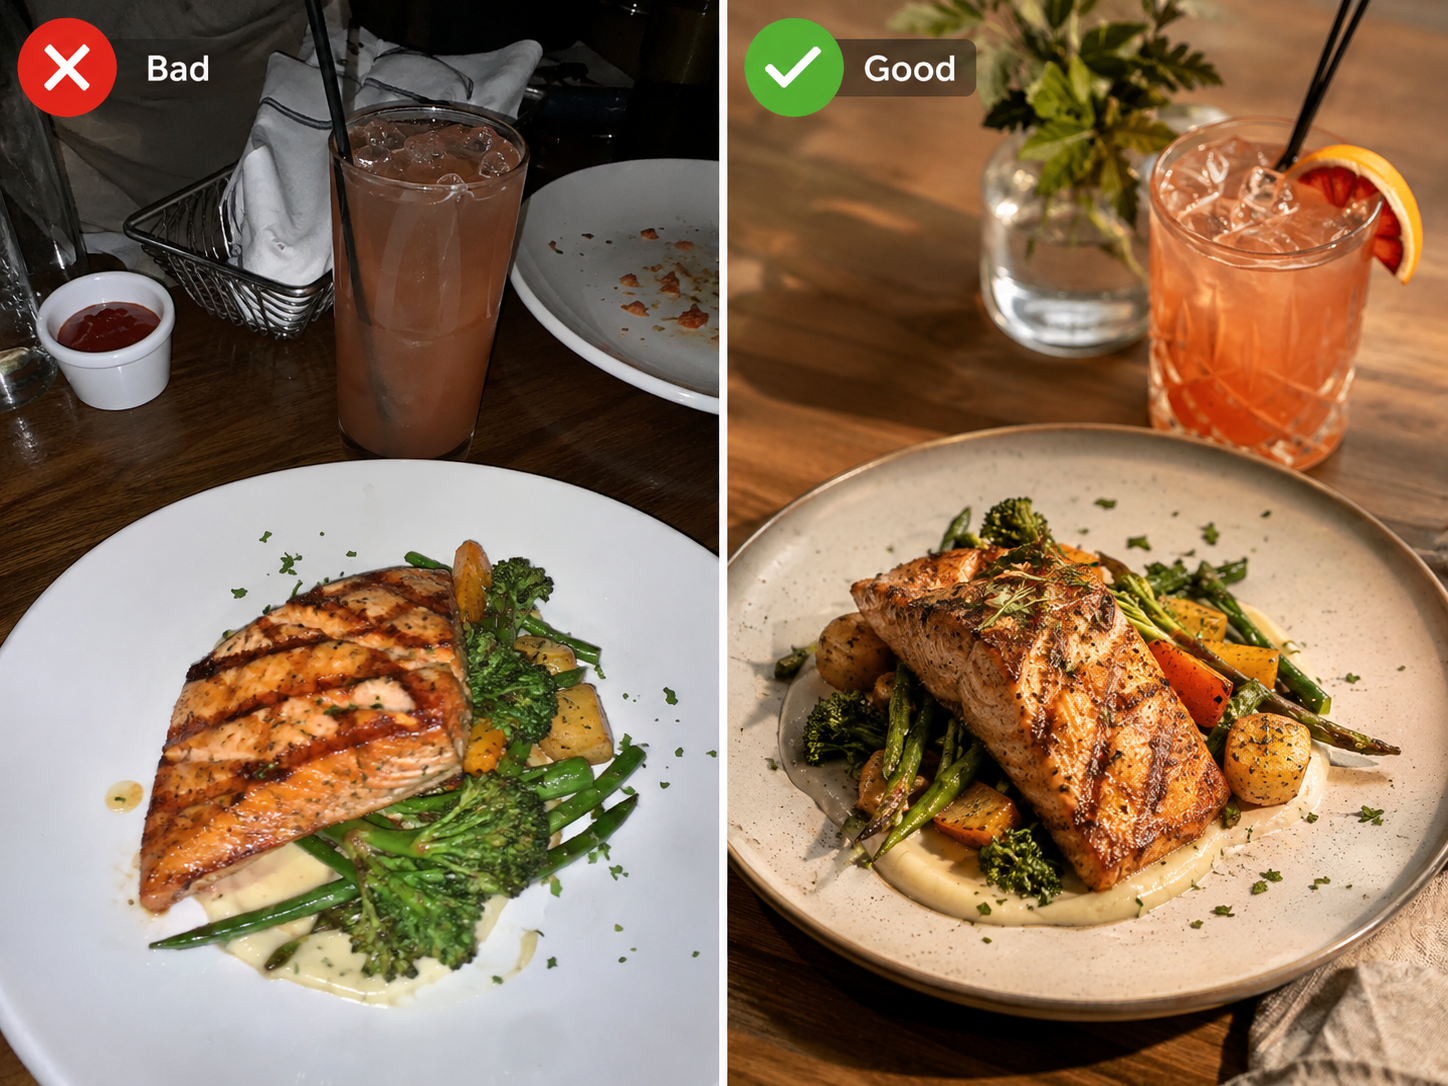
Restaurant food photography can go wrong quickly when too much is done to it. Heavy filters, excessive saturation and dramatic editing may make a dish look impressive on a screen, but if the colour and texture no longer resemble what arrives at the table, the photograph is working against the restaurant.
Whenever possible, photograph food shortly after it is plated. Sauces are glossy, herbs are fresh, steam may still be visible and nothing has started to settle or dry out. Look for soft directional light rather than blasting the plate with a flash. Window light is excellent during the day, while warm restaurant lighting can create beautiful images at night if there is enough of it.
Try changing your angle before changing the camera settings. A burger, cocktail or tall dessert often looks better photographed from around table height. Pizza, shared plates and beautifully arranged tables can work well from above. Most composed entrées look natural somewhere around a 30- to 45-degree angle — roughly the way a guest sees the plate when it is placed in front of them.
And get close enough that the food matters. If eighty percent of the photograph is table, chair and wall, the guest may not know what they’re supposed to look at.
Photograph the People Who Make the Restaurant Feel Alive
Food may bring people through the door, but people create the atmosphere.
Show the chef working. Photograph the bartender shaking a cocktail. Capture the server laughing with a table when the moment is appropriate. Get the musician performing with diners visible in the background. Show the host greeting someone at the door or the kitchen team preparing for service.
These images are especially powerful because they communicate something a menu photograph cannot: energy.
When photographing staff, avoid turning every shot into a staff portrait. People become stiff the moment they’re told to “act natural.” Instead, let them continue doing what they’re doing and shoot around the activity. A genuine expression while someone is working will almost always feel more convincing than a forced smile at the camera.
For guests, be thoughtful about privacy and permission. Wide atmosphere shots where individuals aren’t the focus are one thing; close, identifiable photographs of customers should be handled more carefully.
Live Music Needs the Room Around It
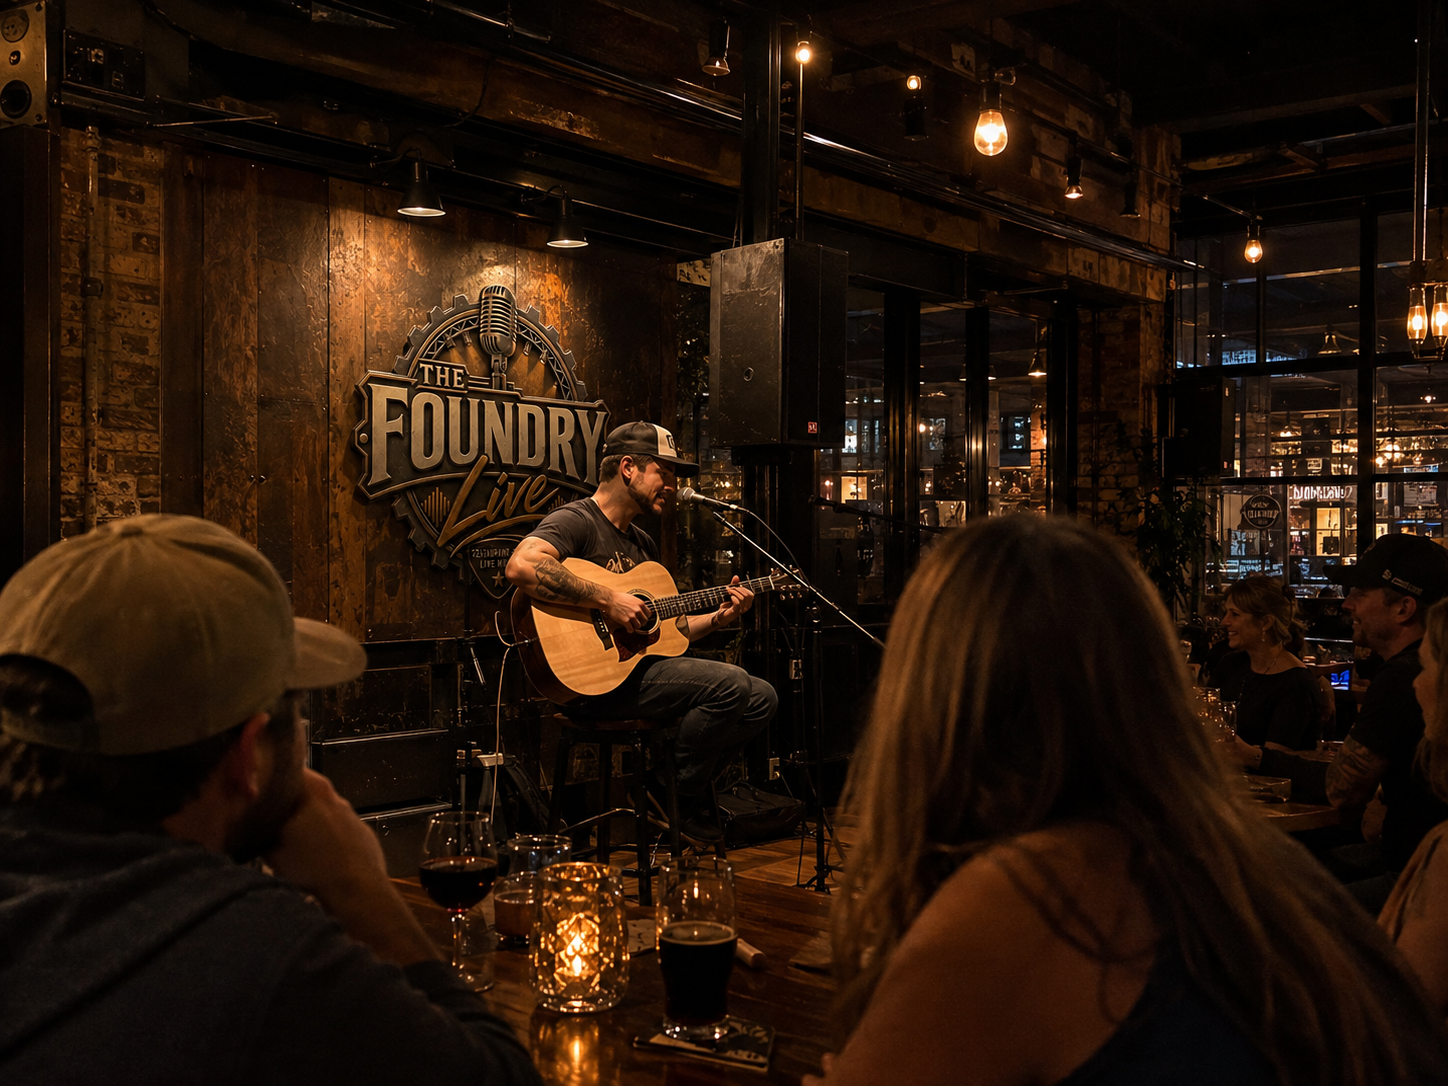
A common mistake with live-music photography is getting so close to the performer that the restaurant disappears. The image might show a musician, but it doesn’t show what the evening actually feels like.
Take a few close shots, but also step back. Include tables, glasses, silhouettes and the glow of the room. Let the performer remain important while giving the viewer enough context to understand that this is happening inside a restaurant full of people.
Low light is part of the atmosphere, so don’t automatically fight it. A slightly darker image with warm stage lighting and a sense of movement can feel much more authentic than a bright photo that makes an intimate evening look like a cafeteria.
The same applies to events, wine tastings and special dinners. Capture the experience, not just the object associated with it.
Prep Is Some of the Best Content You Have
Guests rarely see what happens before the restaurant opens, which makes prep naturally interesting.
Fresh pasta being rolled, bread coming out of the oven, herbs being chopped, steaks being seasoned, cocktails being batched or tables being set all provide a behind-the-scenes view of the restaurant. These photographs also communicate craftsmanship without needing to say, “We care about quality.”
Look for hands and details. A close photograph of a chef folding pasta or a bartender peeling citrus can tell a stronger story than a wide shot of someone standing at a prep table. When possible, include just enough of the environment to make it clear where the action is happening.
These images are particularly useful for posts earlier in the day because they create anticipation. The message becomes: this is what we’re getting ready for tonight.
A Few Simple iPhone Tips
The iPhone camera is designed to make most decisions automatically, which is useful, but you can still take control of the things that matter.
Clean the lens first. It sounds almost too simple, but restaurant kitchens, pockets and fingerprints leave a film on phone lenses that turns beautiful lights into hazy smears.
Tap the subject you want in focus before taking the picture. On iPhone, pressing and holding on the screen can lock focus and exposure with AE/AF Lock, which is helpful when you want to compose the shot without the camera constantly changing its mind. After tapping the subject, you can usually drag the exposure control slightly downward if bright restaurant lights are blowing out the image. Restaurant photography often looks better a little darker than a little too bright.
Try to stay with the phone’s native lenses — usually 1x and, where available, an optical 2x or 3x — rather than pinching aggressively to zoom. Digital zoom tends to reduce quality. Moving physically closer is usually the better option.
Portrait mode can work beautifully for a cocktail, plated dish or person when the background separation looks natural, but don’t use it for everything. Sometimes the dining room behind the subject is part of the story.
Night mode can help in a dark room, but remember that longer exposures and moving people don’t always mix. If someone is performing, pouring a drink or moving through the room, a normal shot with a little grain can look better than a technically brighter photograph filled with motion blur.
A Few Simple Android Tips
Android cameras vary more between manufacturers, but the same fundamentals apply. Clean the lens, tap the subject to focus and adjust exposure before shooting. On many Android phones, tapping the screen brings up a brightness or exposure slider that lets you darken highlights without editing afterward.
Phones from Samsung, Google and other manufacturers often include additional camera controls, and some provide a Pro or Manual mode. You don’t need to use it for every photograph, but it can be useful in difficult restaurant lighting. If available, keep ISO as low as practical for cleaner images and use a shutter speed fast enough to freeze people who are moving.
When choosing image size, the standard 4:3 camera setting is often the best starting point because it typically uses more of the phone’s sensor than some pre-cropped formats. You can crop the photograph for your post afterward.
As with iPhone, avoid excessive digital zoom. Use the physical camera lenses your phone provides whenever possible. Many Android phones also offer excellent low-light modes, but use them selectively for interiors and still subjects rather than every moving service moment.
And don’t assume the most saturated setting is the best one. Restaurant food should look rich and appealing, but greens shouldn’t glow neon and steak shouldn’t suddenly become fluorescent red.
Take More Than One Photograph
Professional photographers rarely take one frame and walk away, and restaurants shouldn’t either.
Take the wide shot. Move closer. Try the same scene vertically and horizontally. Photograph the dish from table level and then slightly above. Capture the bartender before, during and after the pour. Take one image of the musician and another that shows the whole room.
You may only use one photograph, but giving yourself options dramatically improves the odds of getting a good one.
For social and restaurant posts, also think ahead about where the image will appear. A wider horizontal photograph may work beautifully on a website or Resource article, while a more vertical composition often gives food, people and action more presence in a mobile feed. Leave a little breathing room around important subjects so the image can survive different crops without cutting off the chef’s head or half the plate.
Edit Lightly
Editing should help the photograph look like the moment felt, not transform it into something else.
A little exposure correction, contrast, straightening and cropping can make a tremendous difference. Adjusting warmth can help if restaurant lighting made the image unusually yellow or blue. A small increase in sharpness can bring texture back into food.
Then stop.
Over-editing is easy, especially when every photo app offers dozens of filters. If the steak starts looking radioactive, the whites on the plate are glowing and everyone’s skin looks orange, you’ve gone too far.
Consistency across your restaurant’s photographs is more valuable than dramatic editing. Over time, guests begin to recognize the lighting, food, staff and atmosphere of the restaurant before they even read the name.
Don’t Wait for the Perfect Shot
One of the biggest mistakes restaurants can make is deciding they need professional photography every time they want to post something.
There is absolutely a place for professional photography. A menu launch, website refresh or major campaign can benefit enormously from it. But what is happening tonight doesn’t need a photo shoot next Tuesday.
If the chef just created something beautiful, photograph it.
If the dining room is buzzing, capture the room.
If the bartender is making something new, get the shot.
If the band is setting up and the first tables are arriving, show people.
Restaurant content works best when it feels current because the restaurant itself is constantly changing. The objective is not to produce a perfect advertisement every time. It is to give people an authentic glimpse of something they might want to experience.
The phone in your pocket is more than capable of doing that.The most important thing is knowing where to point it.